Friday, August 30, 2013

Color Pencil Technique

Art Majors Experimenting w/ Color Pencils

The students' (both Art 2's and Art 3's) next project involves using color pencils to create points of emphasis or contrast in their drawings.  

There are 8 color pencil techniques the students tried out today.
1.Pressure Variations
2.Stippling
3.Cross Hatching
4.Layering
5.Pencil Tip Side
6.Color Changer
7.Impressed Line
8.Pencil Resist
For more information about Color Pencil techniques or if you want to try these techniques out on your own, check out the Crayola Website for full descriptions and steps.
Paste the link below into your URL bar and enjoy!
http://www.crayola.com/things-to-do/how-to-landing/colored-pencils.aspx 

Thursday, August 29, 2013

5th Grade Collaboration Art

Semi-Circle Art

At the beginning of the year I like to do a collaboration artwork that allows me to asses each students' skill level, their ability to follow directions, and how well the students work together to create art work.

For this collaboration art project each student worked on an individual piece that was then combined with the artwork of others in the class.

The students were given a semi-circle template to decorate.  
The directions on the template told them write their names; to fill the space around their names using patterns and symbols that represented what each student did over the summer; and once they drew their designs in pencil to use marker to color in their art work.

Check out the beautiful collaboration artwork below and look for your student's artwork.

4 examples of students who did a great job at filling the space
and working with the markers.
Top Row is Mrs. Harris' Class
Middle Row is Mrs. Herron's Class
Bottom Row is Mrs. Fox's Class
If you get a chance to stop by our school, their lovely artwork is hanging above their lockers.

Art 2's and Art 3's Collaboration Art


Starry Night Collaboration

At the beginning of the year I like to do a collaboration artwork that allows me to asses each students' skill level, their ability to follow directions, and how well the students work together to create a large scale work of art.

For this collaboration art project each student worked on reproducing 4 small 1 inch squares, of a famous work of art, on a larger 6 inch square.
They went from one small square with a lot detail and imagery,
to a blank square that was 6 times larger than what they started with!!!
Their guidelines: Draw the 1 inch square as you see it.
Use correct proportion as you recreate it.
Color with only the colors you see in your square.

The students were given oil pastels and a short demonstration on how to use this new material before they got to work.

It took roughly 3 1/2 classes for the students to finish all their required pieces.
As some students were finishing up their squares, others quickly got to work at assembling it all together.

Some worked on the student created image,
while a few others work to reassemble the original photo.
Once it was completed and fully assembled the students were shocked at how different everyone's pieces looked together.  It surprised them that even though they were all looking at the same picture, each student perceived the Van Gogh's style and colors differently.
My advice to them was to embrace that each student is a unique and individual artist, strive to create the best works of art you are capable of, and don't compare your artwork to others', everyone's is suppose to be different and use their own style.

Their Finished Starry Night Collaboration!!!


Friday, August 16, 2013

Art Room Finalized!!

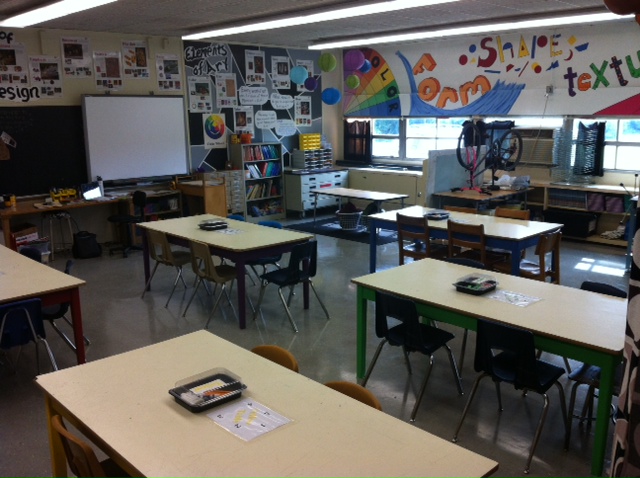
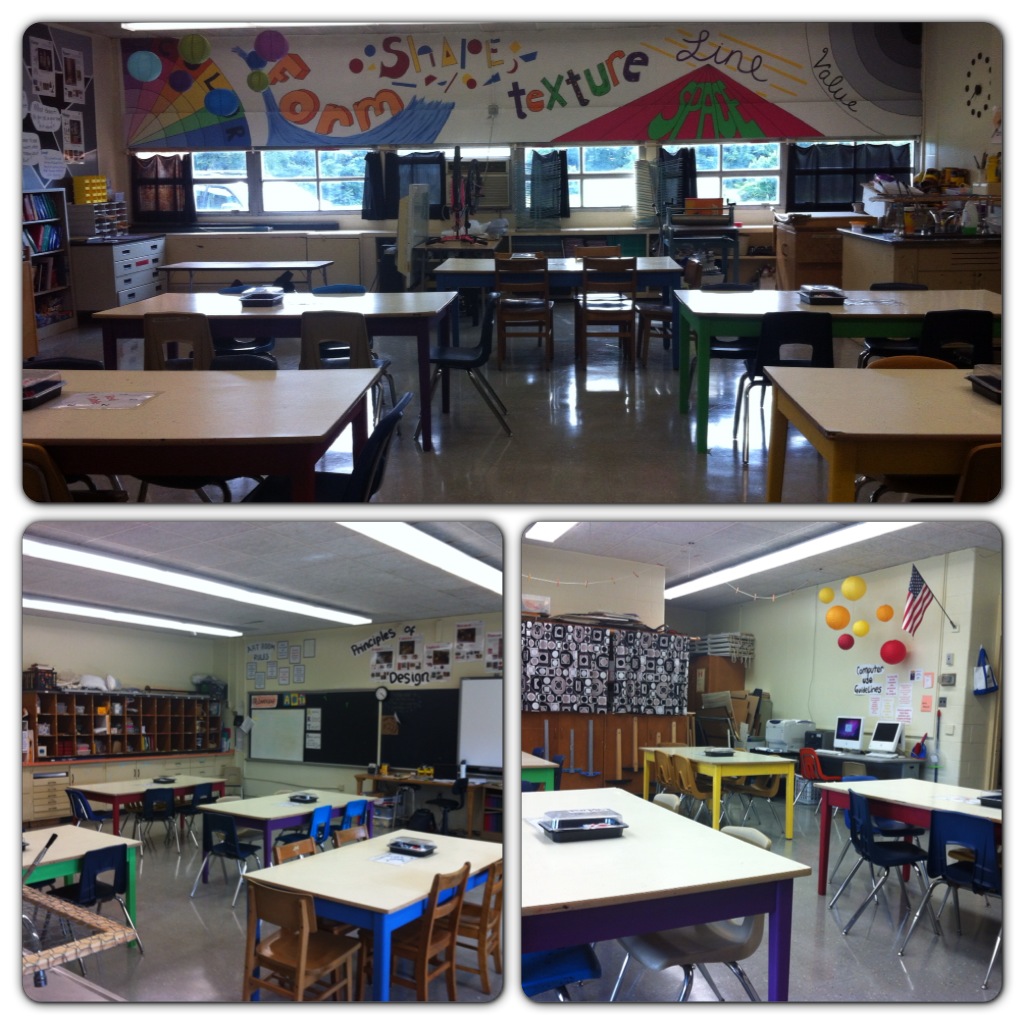
Last school year when I came to TGP my classroom was a hot mess, it had been used as a storage room for old furniture once the pervious art teacher had left.  There were art projects, materials, and their storage containers that were older than most of our kindergarteners.  After a much needed scrub down and a whirlwind of a first year, I was able to work over the summer and set up a classroom that would (I think) better suit the students and myself.

There it is! An actual ART Room! 
The elements of art are painted along the wall above the windows.  The principles of design are posted above the SMART board.  The table legs are all painted for table groups. All classroom management posters (rules, expectations, guidelines, etc.) are posted. And there is a student center in the far left corner of the room (for indoor recess and early finishers).  Okay, 2013-2014 school year I am ready for you!
Multiple Views of the room.
Look at the purple and yellow tables!
Those are such great colors!

My door way.  This part still needs a little more work...
More to come after the first week of school!

 The ART Room is done.
(for the most part) 


Thursday, June 27, 2013


Art Majors Working on our Snow Plow Design


The Final Design being picked up by the snow plow.


Silly Face Pumpkins

In kindergarten we were working on creating silly face pumpkins that show different emotions. By the end of the assignment the students will have learned how to hold a paintbrush, paint in one direction, how to place their artwork on a drying rack, how to properly hold a pair of scissors, how to cut along a line, and how to glue down their artwork using dots of glue.


We began by reading the book Today I Feel Silly and other moods that make my day by Jamie Lee Curtis.


The students then painted 2 pieces of paper, one green and one orange.  Then once it was dry the students were to draw triangles on the green paper to make grass.  On the orange paper the students were to draw a large circle to make a pumpkin.  They then began to cut their shapes out to create their Silly Face Pumpkins.


Their finished work.  The students worked on properly cutting along a line as well as using a small amount of glue to attach their pieces to a background page.


Circle Weavings 

Student Chosen Inspirations 

(I loved this project so much, I am a little late to post this but I just had to.)

My 3rd quarter visual arts elective class is a unit based on sculpture and this year I wanted to do something with yarn.  I wanted my students to have a chance to create something with a lot of texture and color but not as much mess. It's also a plus for me that I am a huge fan of textiles and weavings.

The students first looked at the history of dreamcatchers and circular weavings; what materials were used, how they were made, and why they were made.  
They then created 3 design ideas for their circle weavings and dream catchers.  Many made designs based off of elements found in nature (i.e. sunset, beach, water, and forest).

The students soaked their own reeds, to shape the frame of their looms.
Then they measured out  6 feet of yarn to string the warp lines of their looms.
The students used an over, under pattern, as well as, some special braiding inspired weaving methods to  recreate their original designs on their looms.


There were many great designs and finished weavings. Below are images from some of those in our school's middle school art show.

Art Show Display
Detail Shots